Ionic Angular 快速入门
欢迎!本指南将带你了解 Ionic Angular 开发的基础知识。你将学习如何搭建开发环境、生成简单项目、探索项目结构,以及理解 Ionic 组件的工作方式。这是在构建第一个真实应用之前熟悉 Ionic Angular 的绝佳途径。
如果你正在寻找 Ionic Angular 的高级概述及其在 Angular 生态系统中的定位,请参阅 Ionic Angular 概述。
前置条件
在开始之前,请确保你的机器上已安装 Node.js 和 npm。 你可以通过运行以下命令来检查:
node -v
npm -v
如果你没有安装 Node.js 和 npm,请下载 Node.js(包含 npm)。
使用 Ionic CLI 创建项目
首先,安装最新的 Ionic CLI:
npm install -g @ionic/cli
然后,运行以下命令来创建并运行一个新项目:
ionic start myApp blank --type angular

cd myApp
ionic serve
在第一个提示中,选择 Standalone。
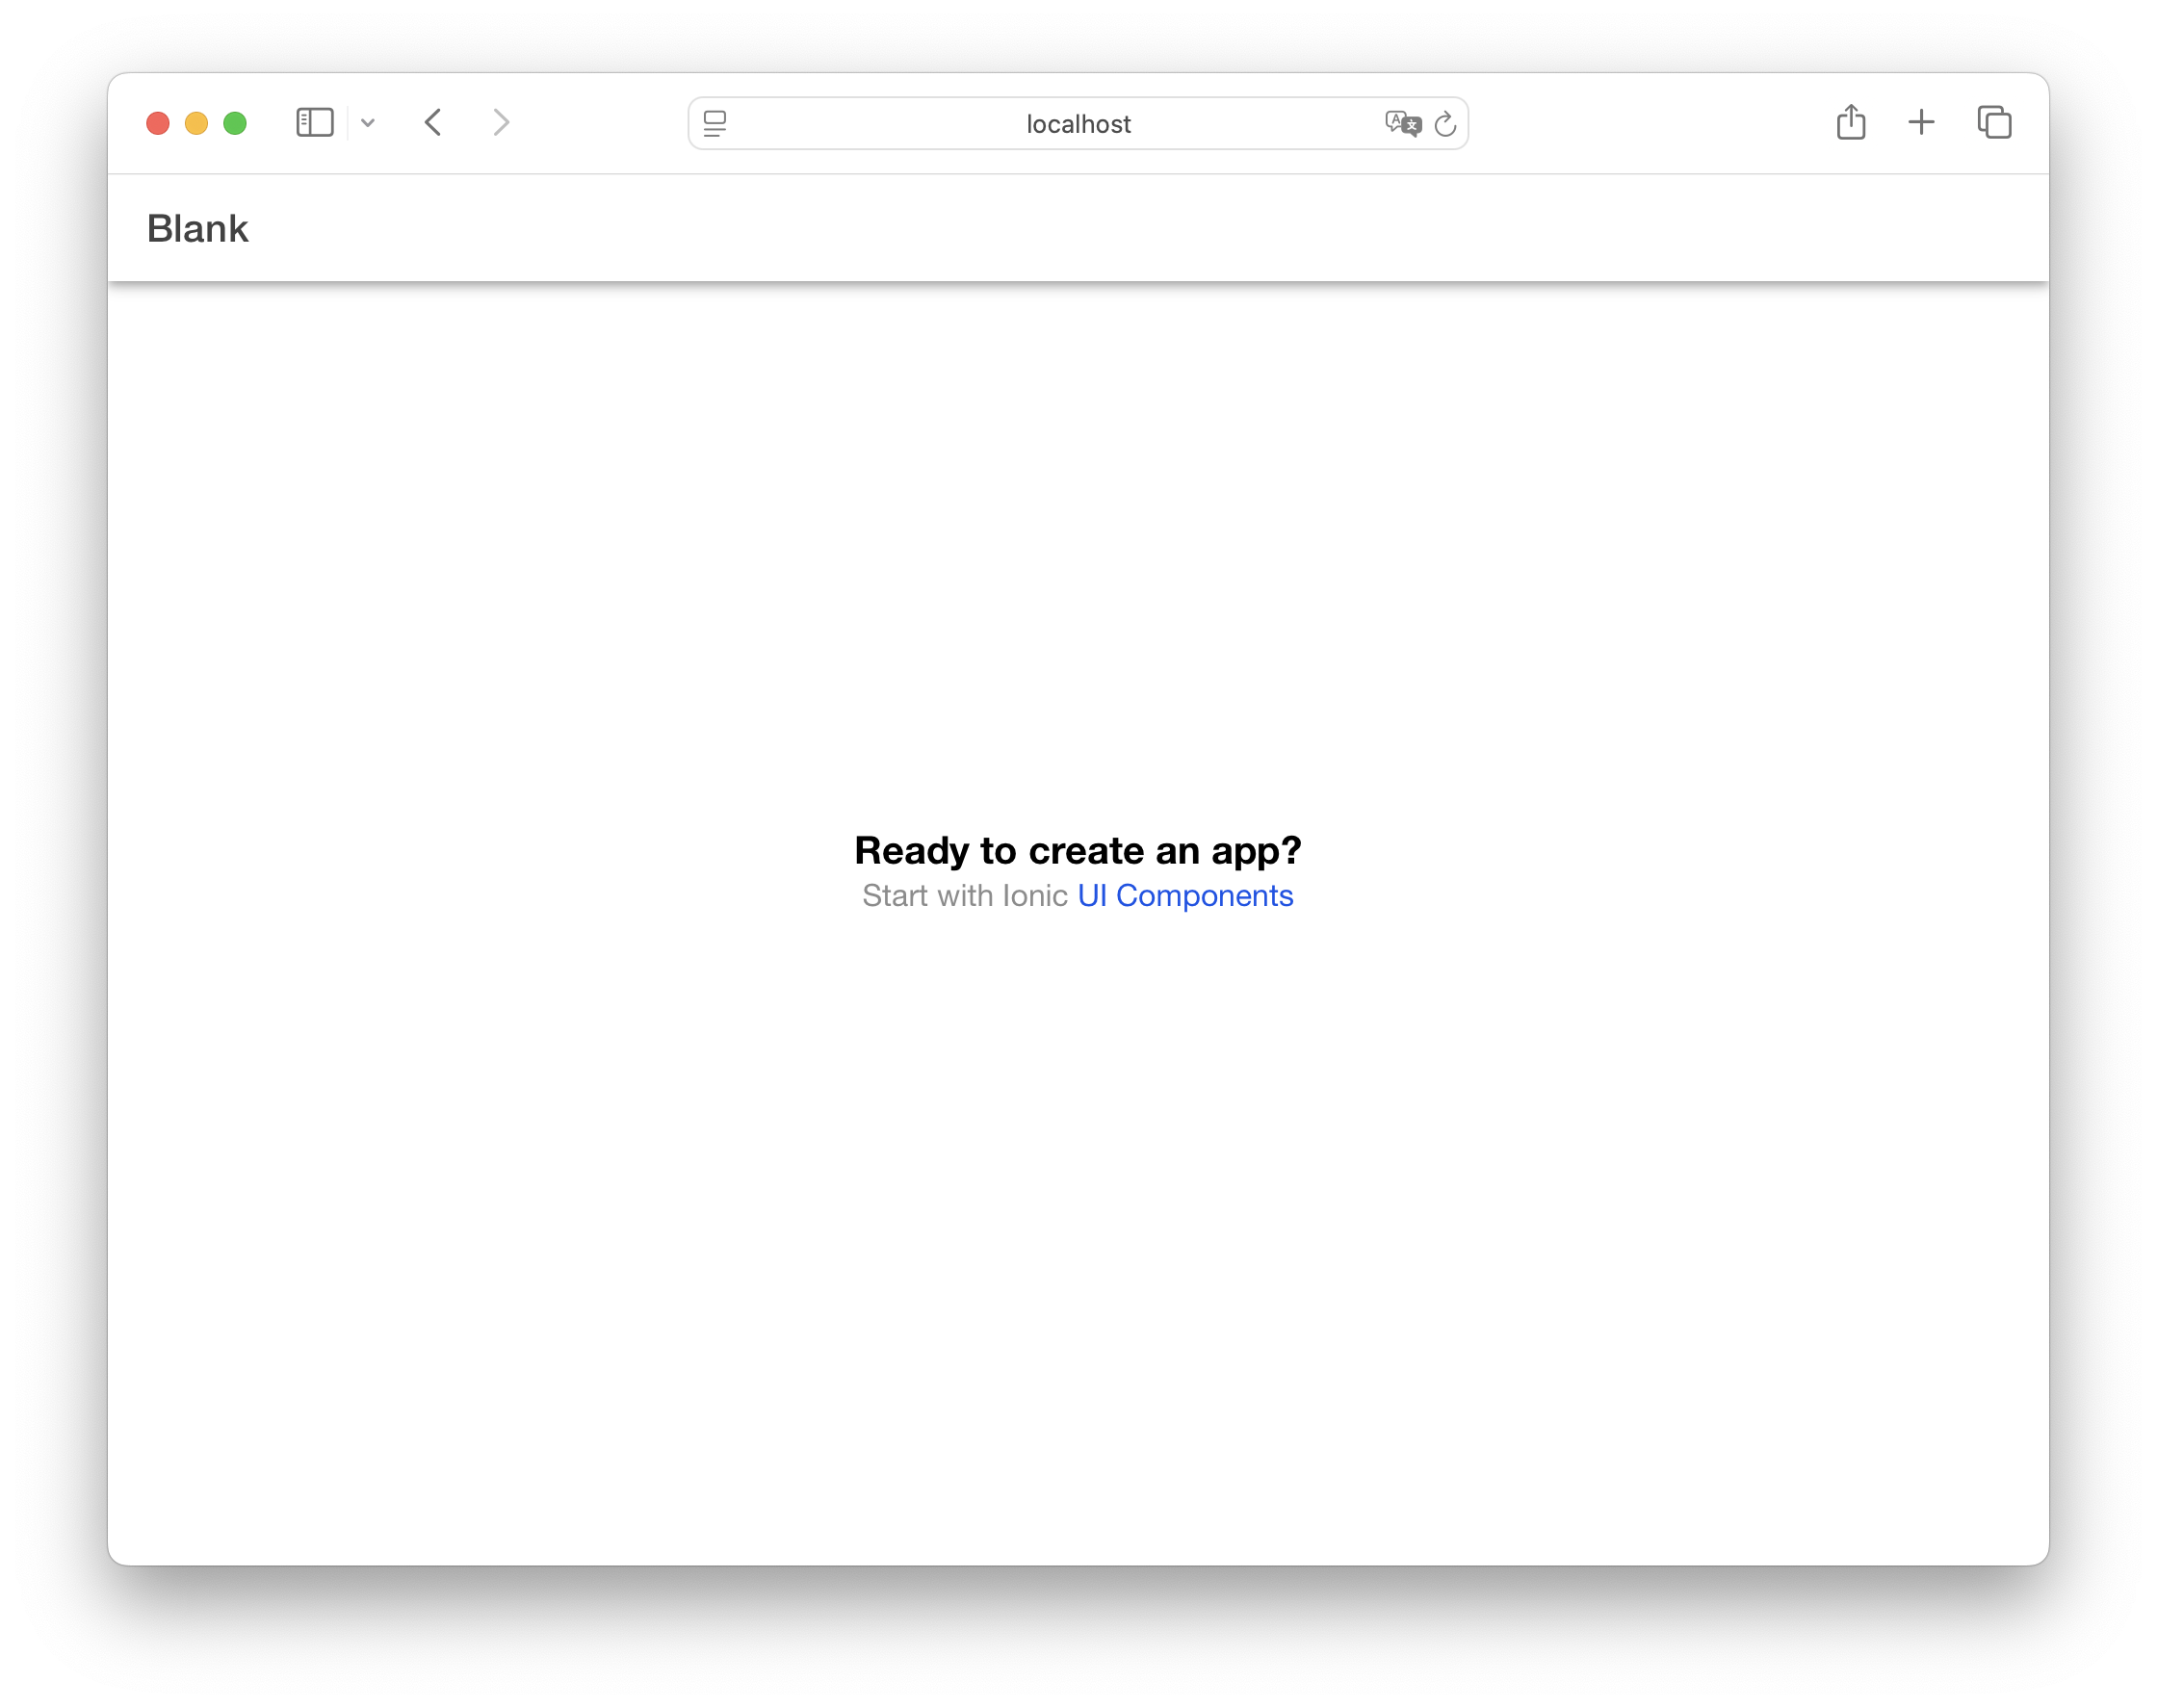
运行 ionic serve 后,项目将在浏览器中打开。
探索项目结构
你的新应用目录结构如下所示:
└── src/
    └── app
        ├── app.component.html
        ├── app.component.scss
        ├── app.component.ts
        ├── app.routes.ts
        └── home/
            ├── home.page.html
            ├── home.page.scss
            ├── home.page.spec.ts
            └── home.page.ts
以下示例中的所有文件路径均相对于项目根目录。
让我们逐文件了解应用的结构。
查看应用组件
应用的根组件定义在 app.component.ts 中:
import { Component } from '@angular/core';
import { IonApp, IonRouterOutlet } from '@ionic/angular/standalone';

@Component({
  selector: 'app-root',
  templateUrl: 'app.component.html',
  imports: [IonApp, IonRouterOutlet],
})
export class AppComponent {
  constructor() {}
}
以及它的模板文件 app.component.html:
<ion-app>
  <ion-router-outlet></ion-router-outlet>
</ion-app>
这设置了应用的根结构,使用了 Ionic 的 ion-app 和 ion-router-outlet 组件。路由出口是你的页面将被显示的地方。
查看路由
路由定义在 app.routes.ts 中:
import { Routes } from '@angular/router';

export const routes: Routes = [
  {
    path: 'home',
    loadComponent: () => import('./home/home.page').then((m) => m.HomePage),
  },
  {
    path: '',
    redirectTo: 'home',
    pathMatch: 'full',
  },
];
当你访问根 URL(/)时,HomePage 组件将被加载。
查看首页
首页组件定义在 home.page.ts 中,导入它使用的 Ionic 组件:
import { Component } from '@angular/core';
import { IonHeader, IonToolbar, IonTitle, IonContent } from '@ionic/angular/standalone';

@Component({
  selector: 'app-home',
  templateUrl: 'home.page.html',
  styleUrls: ['home.page.scss'],
  imports: [IonHeader, IonToolbar, IonTitle, IonContent],
})
export class HomePage {
  constructor() {}
}
而模板文件 home.page.html 使用了这些组件:
<ion-header [translucent]="true">
  <ion-toolbar>
    <ion-title> Blank </ion-title>
  </ion-toolbar>
</ion-header>

<ion-content [fullscreen]="true">
  <ion-header collapse="condense">
    <ion-toolbar>
      <ion-title size="large">Blank</ion-title>
    </ion-toolbar>
  </ion-header>

  <div id="container">
    <strong>Ready to create an app?</strong>
    <p>
      Start with Ionic
      <a target="_blank" rel="noopener noreferrer" href="https://ionicframework.com/docs/components">UI Components</a>
    </p>
  </div>
</ion-content>
这将创建一个包含标题和可滚动内容区域的页面。第二个标题显示了一个可折叠的大标题,当位于内容顶部时显示,向下滚动时会折叠为第一个标题中的较小标题。
添加 Ionic 组件
你可以使用更多 Ionic UI 组件来增强首页。例如,在 ion-content 末尾添加一个 Button:
<ion-content>
  <!-- existing content -->

  <ion-button>Navigate</ion-button>
</ion-content>
然后,在 home.page.ts 中导入 IonButton 组件:
import { IonButton, IonContent, IonHeader, IonTitle, IonToolbar } from '@ionic/angular/standalone';

@Component({
  // ...existing config...
  imports: [IonButton, IonContent, IonHeader, IonTitle, IonToolbar],
})
添加新页面
要添加新页面,使用 CLI 生成它:
ionic generate page new
路由将自动添加到 app.routes.ts 中。
在 new.page.html 中,你可以向 Toolbar 添加一个返回按钮:
<ion-header [translucent]="true">
  <ion-toolbar>
    <ion-buttons slot="start">
      <ion-back-button defaultHref="/"></ion-back-button>
    </ion-buttons>
    <ion-title>new</ion-title>
  </ion-toolbar>
</ion-header>
并在 new.page.ts 中导入 IonBackButton 和 IonButtons:
import { IonBackButton, IonButtons, IonContent, IonHeader, IonTitle, IonToolbar } from '@ionic/angular/standalone';

@Component({
  // ...existing config...
  imports: [IonBackButton, IonButtons, IonContent, IonHeader, IonTitle, IonToolbar],
})
ion-back-button 将自动处理返回上一页的导航,如果没有历史记录则返回到 /。
导航到新页面
要导航到新页面,更新 home.page.html 中的按钮:
<ion-button [routerLink]="['/new']">Navigate</ion-button>
然后,在 home.page.ts 中导入 RouterLink:
import { RouterLink } from '@angular/router';

@Component({
  // ...existing config...
  imports: [IonButton, IonContent, IonHeader, IonTitle, IonToolbar, RouterLink],
})
导航也可以使用 Angular 的 Router 服务来完成。更多信息请参阅 Angular 导航文档。
向新页面添加图标
Ionic Angular 预装了 Ionicons。你可以通过设置 ion-icon 组件的 name 属性来使用任何图标。向 new.page.html 添加以下图标:
<ion-content>
  <!-- existing content -->

  <ion-icon name="heart"></ion-icon>
  <ion-icon name="logo-ionic"></ion-icon>
</ion-content>
你还需要在 new.page.ts 中导入并注册这些图标:
// ...existing imports...
import { IonBackButton, IonButtons, IonContent, IonHeader, IonIcon, IonTitle, IonToolbar } from '@ionic/angular/standalone';
import { addIcons } from 'ionicons';
import { heart, logoIonic } from 'ionicons/icons';

@Component({
  // ...existing config...
  imports: [IonBackButton, IonButtons, IonContent, IonHeader, IonIcon, IonTitle, IonToolbar],
})
然后,更新页面的构造函数以使用 addIcons:
export class NewPage implements OnInit {
  constructor() {
    addIcons({ heart, logoIonic });
  }

  ngOnInit() {}
}
或者,你可以在 app.component.ts 中注册图标,以便在整个应用中使用它们。
更多信息,请参阅图标文档和 Ionicons 文档。
调用组件方法
让我们添加一个按钮,可以将内容区域滚动到底部。
更新 new.page.html 中的 ion-content,在现有图标之后添加一个按钮和一些列表项:
<ion-content [fullscreen]="true" #content>
  <ion-header collapse="condense">
    <ion-toolbar>
      <ion-title size="large">new</ion-title>
    </ion-toolbar>
  </ion-header>

  <ion-icon name="heart"></ion-icon>
  <ion-icon name="logo-ionic"></ion-icon>

  <ion-button (click)="scrollToBottom()">Scroll to Bottom</ion-button>

  <!-- Add lots of content to make scrolling possible -->
  @for (item of items; track $index; let i = $index) {
  <ion-item>
    <ion-label>Item {{ i + 1 }}</ion-label>
  </ion-item>
  }
</ion-content>
在组件中,添加 ViewChild 导入、新的组件导入,并定义 scrollToBottom 函数:
import { Component, OnInit, ViewChild } from '@angular/core';
import {
  IonBackButton,
  IonButton,
  IonButtons,
  IonContent,
  IonHeader,
  IonIcon,
  IonItem,
  IonLabel,
  IonTitle,
  IonToolbar,
} from '@ionic/angular/standalone';
import { addIcons } from 'ionicons';
import { heart, logoIonic } from 'ionicons/icons';

@Component({
  // ...existing config...
  imports: [
    IonBackButton,
    IonButton,
    IonButtons,
    IonContent,
    IonHeader,
    IonIcon,
    IonItem,
    IonLabel,
    IonTitle,
    IonToolbar,
  ],
})
export class NewPage implements OnInit {
  @ViewChild(IonContent) content!: IonContent;

  items = Array.from({ length: 50 }, (_, i) => i);

  constructor() {
    addIcons({ heart, logoIonic });
  }

  ngOnInit() {}

  scrollToBottom = () => {
    this.content.scrollToBottom(300);
  };
}
要调用 Ionic 组件上的方法:
- 为组件创建一个
ViewChild引用 - 直接在组件实例上调用方法
你可以在每个组件的 API 文档中的 Methods 部分找到可用的方法。
在设备上运行
Ionic 的组件在任何地方都能运行:iOS、Android 和 PWA。要部署到移动设备,请使用 Capacitor:
ionic build
ionic cap add ios
ionic cap add android
在 IDE 中打开原生项目:
ionic cap open ios
ionic cap open android
更多信息请参阅 Capacitor 入门指南。
进一步探索
本指南涵盖了创建 Ionic Angular 应用、添加导航以及介绍 Capacitor 进行原生构建的基础知识。要深入学习,请查看:

使用 Ionic Angular 和原生设备功能构建一个真实的相册应用。
从官方 Angular 文档中了解更多关于 Angular 核心概念、工具和最佳实践的信息。

了解如何使用 Angular Router 在 Ionic Angular 应用中处理路由和导航。

探索 Ionic 丰富的 UI 组件库,构建精美的应用。

学习如何使用 Ionic 强大的主题系统自定义应用的外观和风格。

了解如何使用 Capacitor 访问原生设备功能,并将应用部署到 iOS、Android 和 Web。